USB4 vs Thunderbolt 4: Real-World Bandwidth, Daisy-Chaining Limits, Cable Certification, and What Works with Your Laptop

NVMe SSDs deliver extreme speed, but they can overheat under heavy workloads, causing thermal throttling, reduced performance, and potential stability issues. This expert guide explains why NVMe drives get hot and shows how to cool them effectively using proper heatsinks, correctly applied thermal pads, the right motherboard M.2 slot, and better case airflow, helping you maintain consistent performance and reliability.
Modern NVMe SSDs on PCIe 4.0 and PCIe 5.0 push enormous bandwidth and IOPS. The controller and its PHY work continuously during sustained transfers, generating heat quickly. As speeds rise, so does power density, which is why faster drives tend to run warmer under load.
NAND flash runs cooler during light reads but heats up during continuous writes. When the SLC cache fills and the drive writes directly to TLC or QLC, heat increases. DRAM-equipped controllers may manage metadata efficiently, yet the thermal picture still depends on workload duration.
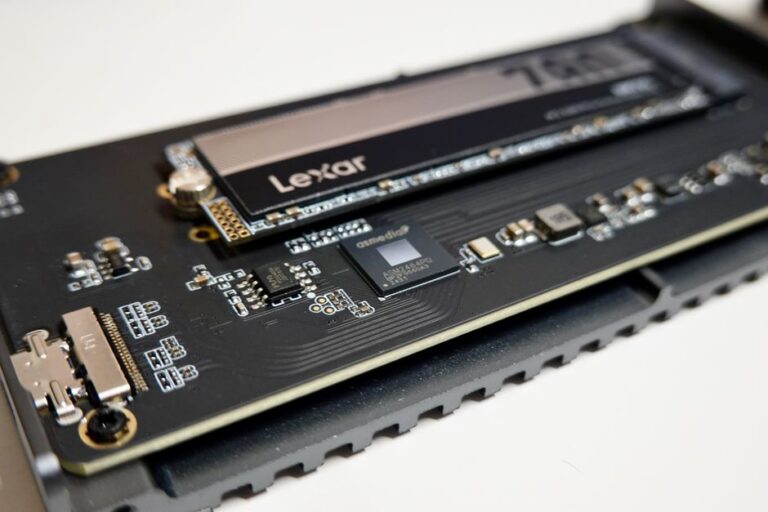
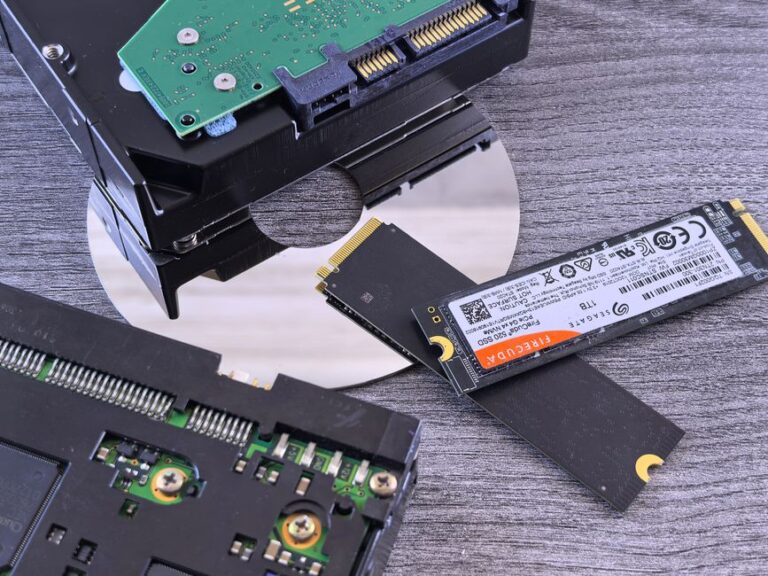
M.2 2280 “gumstick” drives have tiny surfaces to shed heat. Double-sided drives pack more components, reducing thermal headroom if cooling is minimal. Laptops and ultra-compact desktops further restrict airflow, making passive heat dissipation harder.
Many M.2 sockets sit beneath a graphics card or near a chipset heatsink. GPU exhaust and chipset heat can warm the SSD zone. On some boards, the top CPU-attached slot gets better airflow than lower slots that are boxed in by large cards.
Most NVMe SSDs expose temperature sensors through SMART and vendor utilities. Monitor the controller temperature at idle, during short bursts, and under sustained transfers. Note the point where the drive throttles to protect itself.
Test common real-world tasks such as game installs, 4K video exports, large code builds, or VM work. Track temperature, throughput, and any dips in speed. If the drive repeatedly drops performance at a similar temperature, you have a thermal bottleneck.
Briefly run the system with the side panel removed to observe change. If temperatures fall significantly, case airflow is a key factor. If the temperature remains high, focus on heatsink contact and pad application.
Many motherboards include M.2 shields and thermal pads tailored to the slot layout. These can work well if the pads match the drive’s component height. Aftermarket heatsinks add surface area and fins, and some include heatpipes for improved dissipation.
Pick a low-profile heatsink for cramped spaces and small form factor cases. Choose taller finned designs for open airflow paths. For double-sided drives, use a heatsink that contacts components on both sides to avoid hotspots.
Check clearance under your GPU and near PCIe slots. Avoid heavy heatsinks that flex the M.2 connector. Align fins with the primary airflow direction so case fans can move heat off the heatsink efficiently.
Thermal pads must compress slightly to fill gaps without bowing the PCB. If a pad is too thick, the shield may not seat evenly. If it is too thin, it will not transfer heat effectively. Confirm compression by checking for uniform pad impressions after a test fit.
Controllers run hottest, followed by DRAM and then NAND packages under sustained load. Ensure the pad covers the controller area fully. Many decorative stickers insulate; if the sticker is thick, remove or replace it with the manufacturer’s thin label if guidance allows.
On many boards, the top M.2 slot connects to the CPU and often sits in a better airflow path. This location can provide slightly lower temperatures, especially in tower cases with a front intake and a rear exhaust.
Slots directly under a large graphics card can soak in GPU heat and stagnant air. If your board offers an alternative slot away from the GPU backplate, prefer that position for your hottest or fastest NVMe drive.
Place your highest performance PCIe 4.0 or PCIe 5.0 drive in a slot that supports its full speed. If a lower slot shares lanes or bandwidth with other devices, it may run warmer due to nearby heat sources or reduced cooling structures.
Balanced intake and exhaust reduce hotspots around motherboard heatsinks and M.2 areas. Ensure front fans pull cool air through clean dust filters and that rear or top fans expel warm air effectively.
Orient top fans as exhaust to draw heat upward and away. Set case fans to ramp earlier when SSD temperature rises. Tidy cables to open a straight channel from intake fans to the M.2 zones and the VRM area.
High-wattage GPUs warm the PCIe region where M.2 slots often reside. Improve separation by adding a side intake if the case supports it, or consider a vertical GPU mount if it increases space above the M.2 area and maintains good intake flow.
Thin devices restrict airflow and often rely on shared heatpipes for CPU and GPU. Use low-profile thermal pads and OEM shields correctly, keep vents clean, and avoid blocking intakes during heavy disk activity. A cooling pad with upward airflow can help.
In compact cases, prioritize a direct intake aimed at the M.2 region and choose shorter, finned heatsinks that fit under panels. Every millimeter of clearance matters, so verify dimensions before purchase.
External NVMe enclosures heat up during long transfers. Pick models with aluminum shells and internal thermal pads. Place the enclosure on an open surface, not on soft materials, and allow airflow around the fins or body.
Vendors sometimes release firmware that refines thermal management or improves idle behavior. Update with the manufacturer’s tool and retest temperatures and throttling thresholds after installation.
Thermal throttling is protective and expected under heavy load. However, if you see frequent disconnects, file system errors, or persistent high temperatures at idle, contact support for guidance and potential RMA procedures.
If your environment is thermally constrained, consider NVMe SSDs known for cooler operation under sustained workloads. Look for designs with effective onboard heatsinks, efficient controllers, and, where relevant, double-sided cooling provisions.
Most high-performance PCIe 5.0 drives benefit from a heatsink, especially under sustained transfers. Many motherboards include M.2 shields that work well when pads are applied correctly. Aftermarket heatsinks help if your case airflow is limited or the slot is near a hot GPU.